Create a Solana Project
This guide shows how to create a Solana project and add the first Solana triggers in Web3alert.
In this example, you create a Solana project, select an existing Solana source, and import triggers from a Program IDL.
Step 1. Create the Solana Project
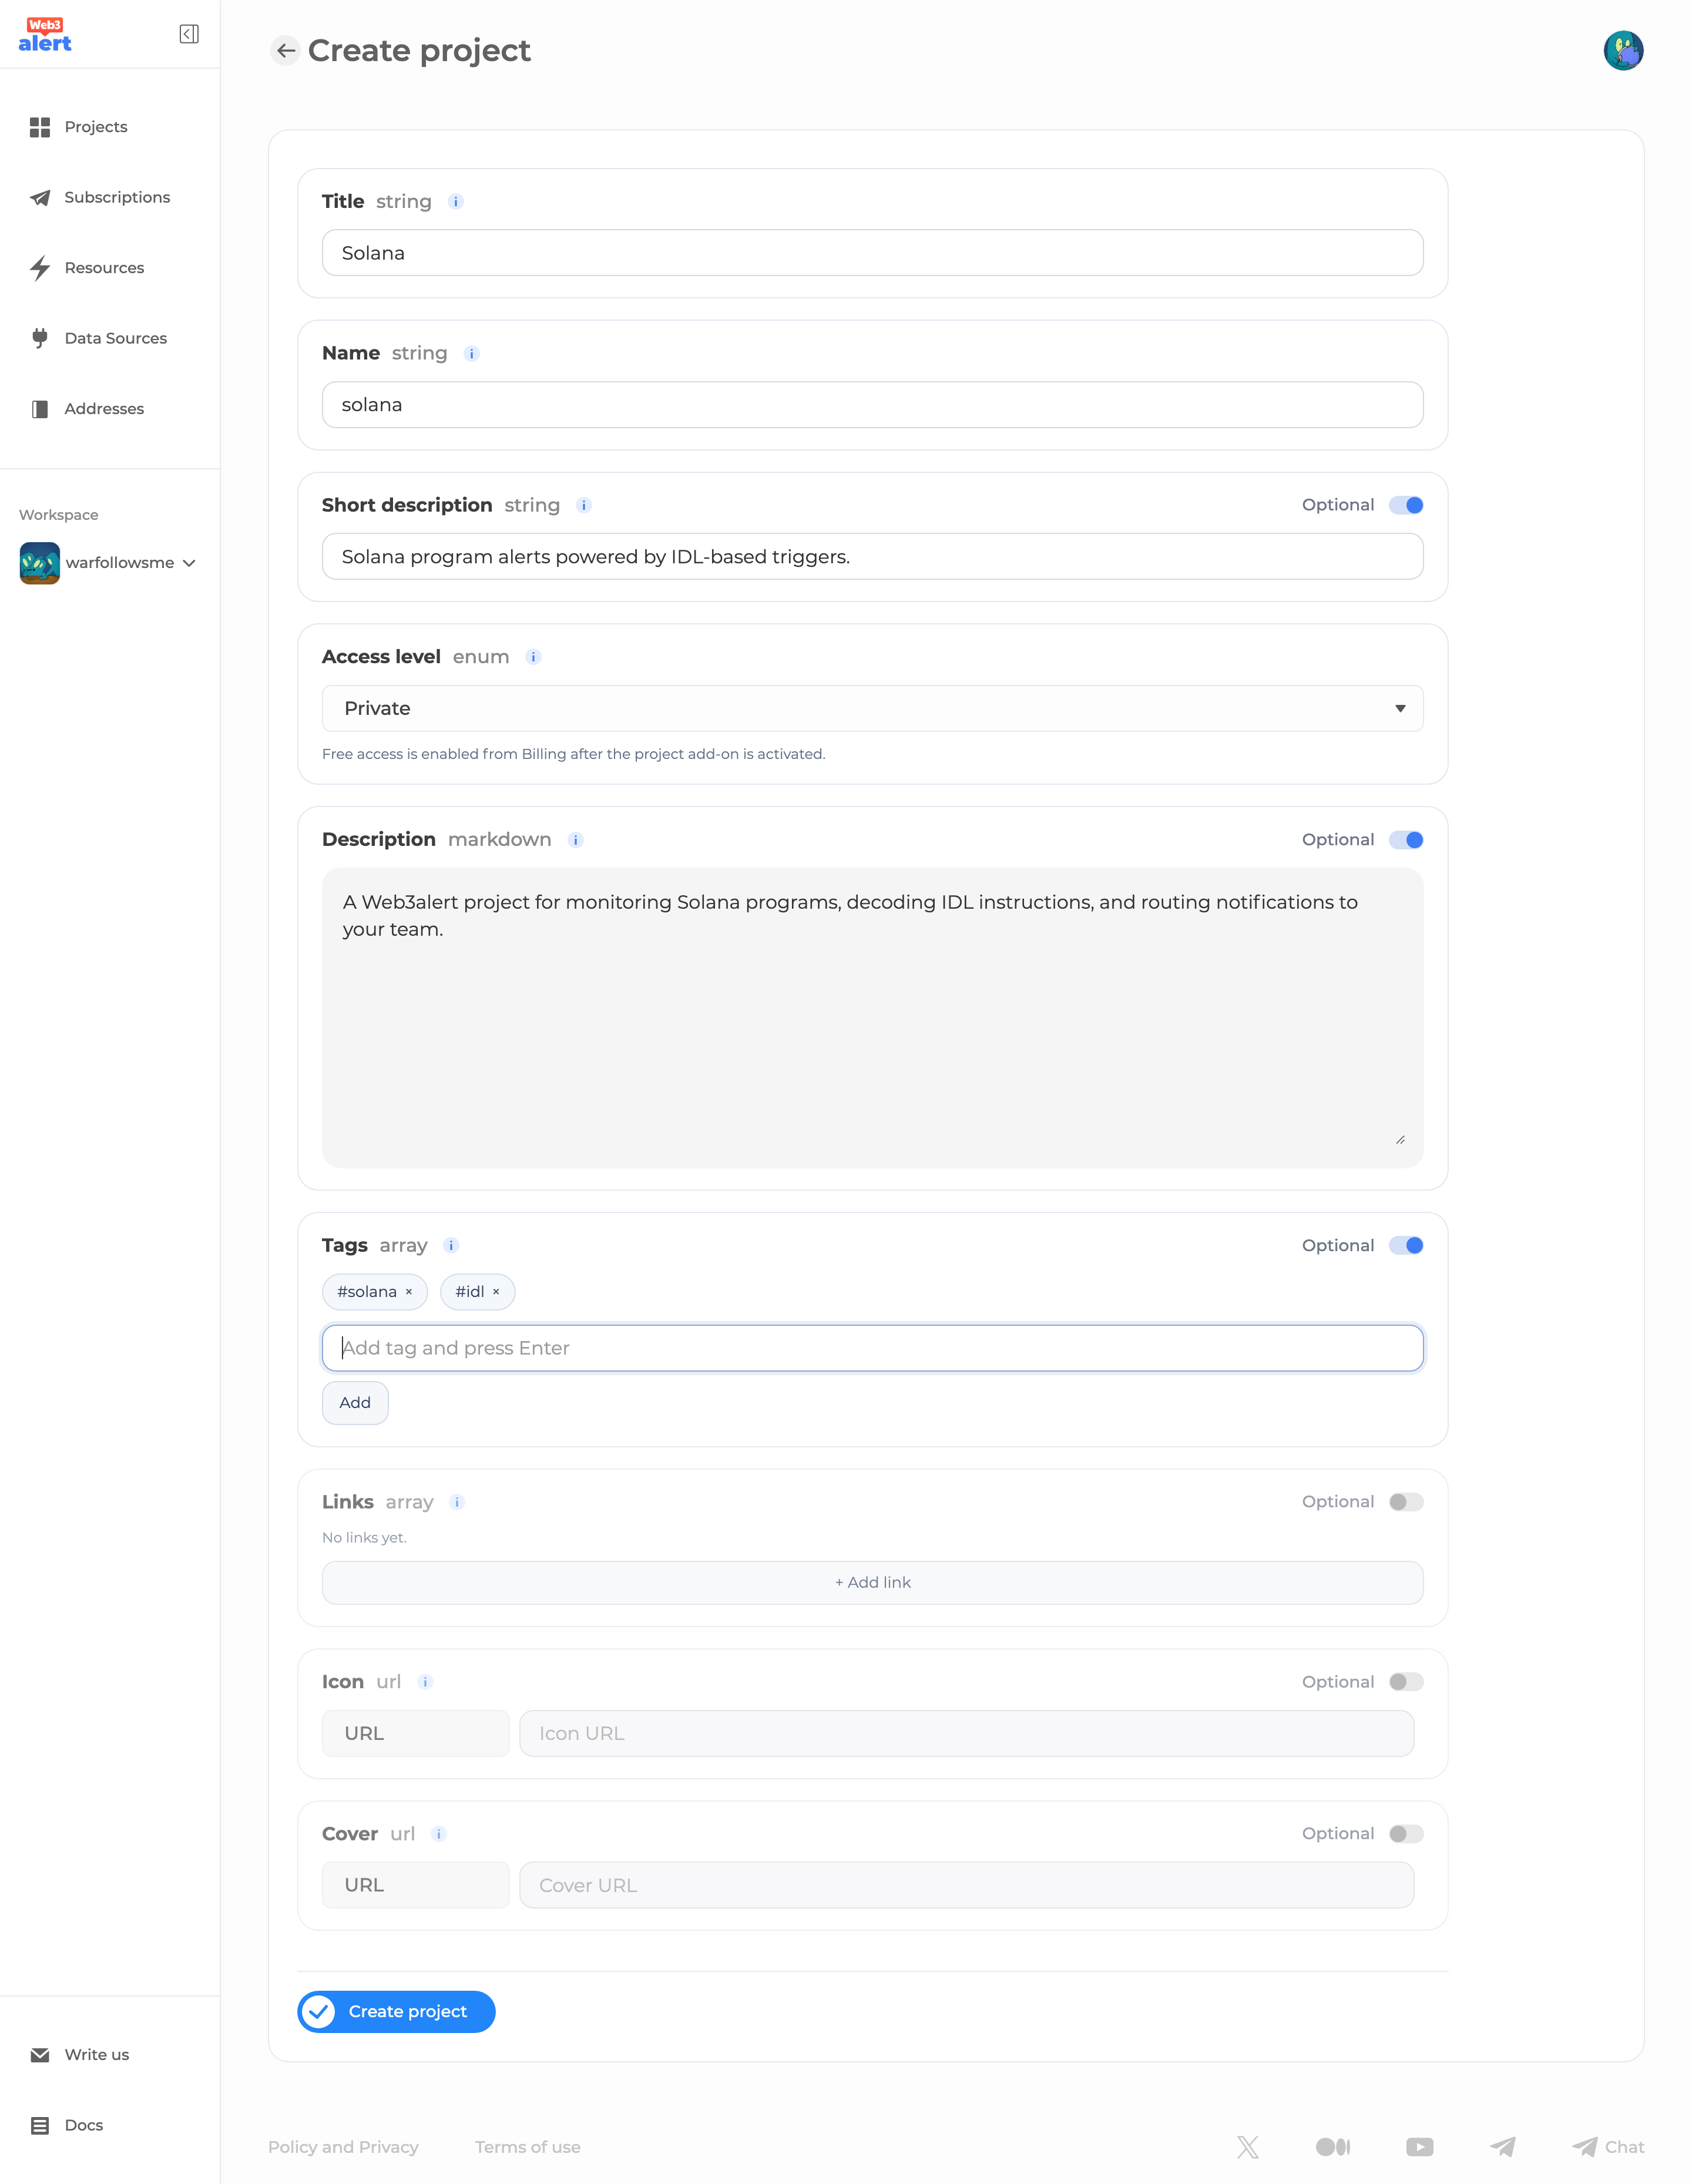
Open Projects from the left sidebar and click Create New Project.
Fill the main fields:
| Field | Value |
|---|---|
Title | Solana |
Name | solana |
Access level | Private for preparation, Public when ready to publish, or Free if subscriptions should be free for users |
Enable Short description and use:
Solana mainnet notifications for program instructions, events, and account activity.Enable Description and use a short project overview, for example:
Solana is a high-performance Layer 1 blockchain for applications that need fast finality and low transaction costs.

This Web3alert project collects Solana program activity from an existing Solana data source. Use it to build alerts for program instructions, decoded program events, and account reads based on Solana IDL.
Enable Tags and add:
solana
layer-1
smart-contracts
Optional: add useful links such as the official Solana website, documentation, explorer, or the project page for the program you are monitoring.
Click Create project.
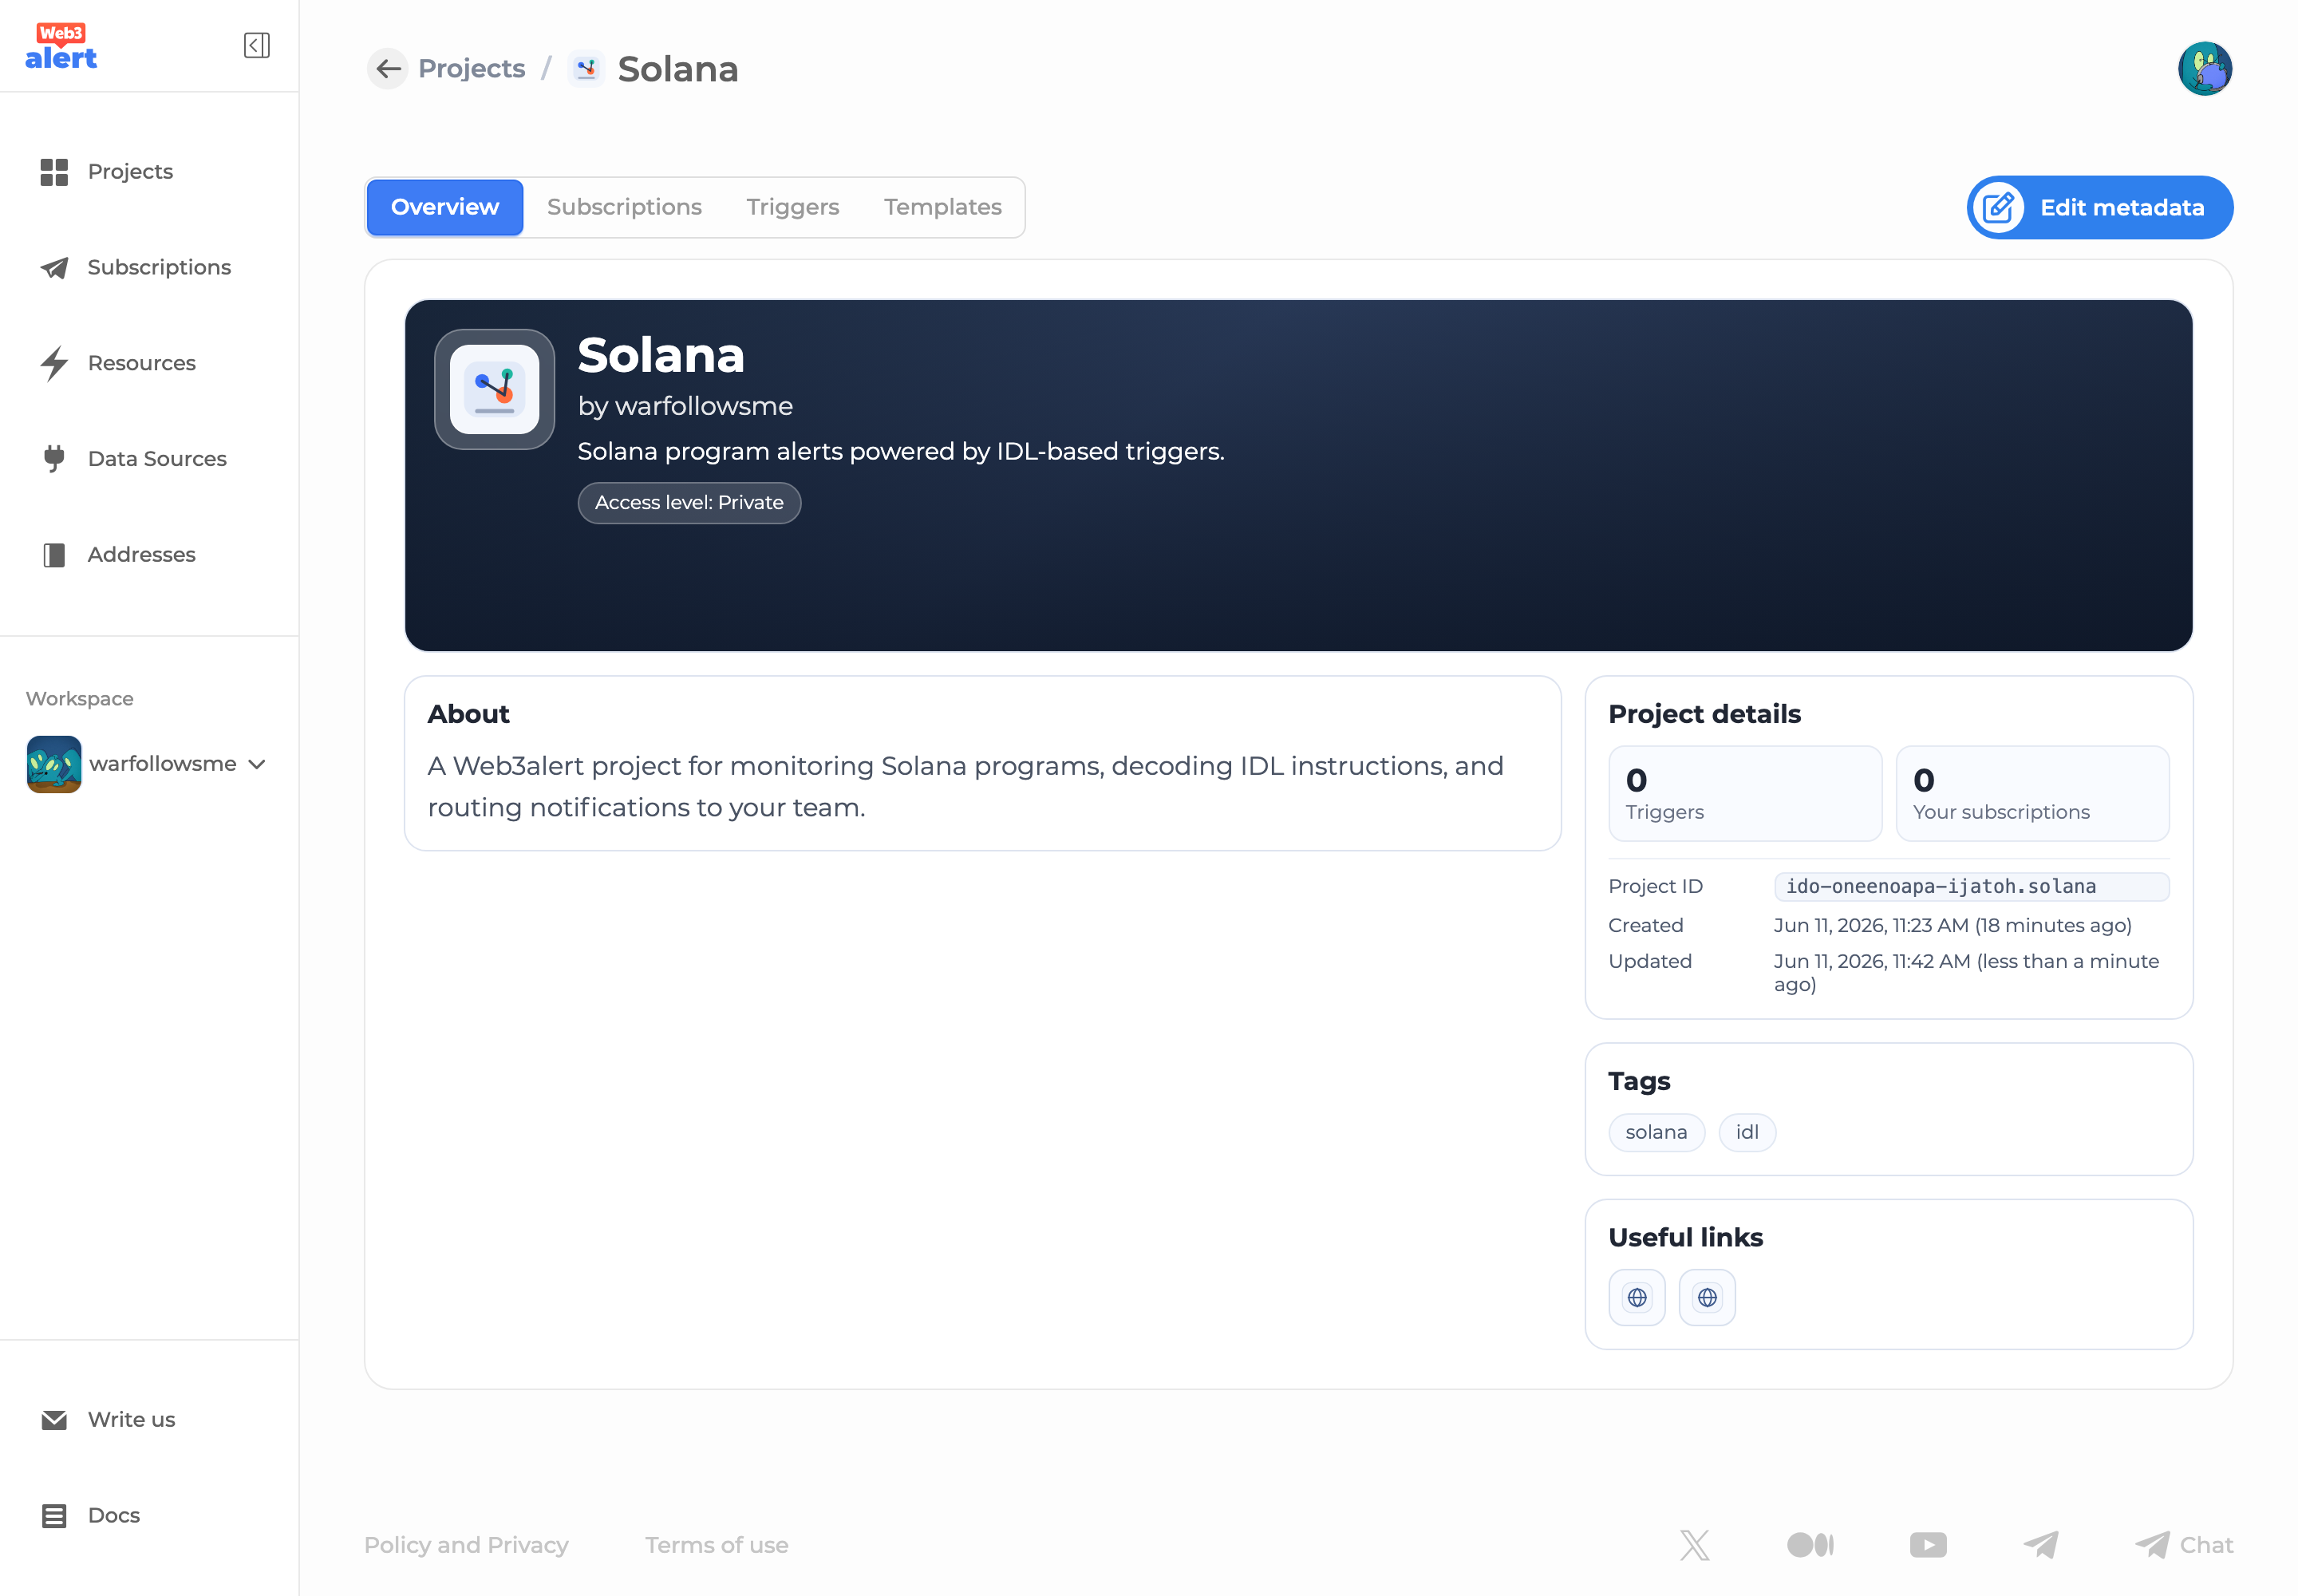
Step 2. Open Import Triggers
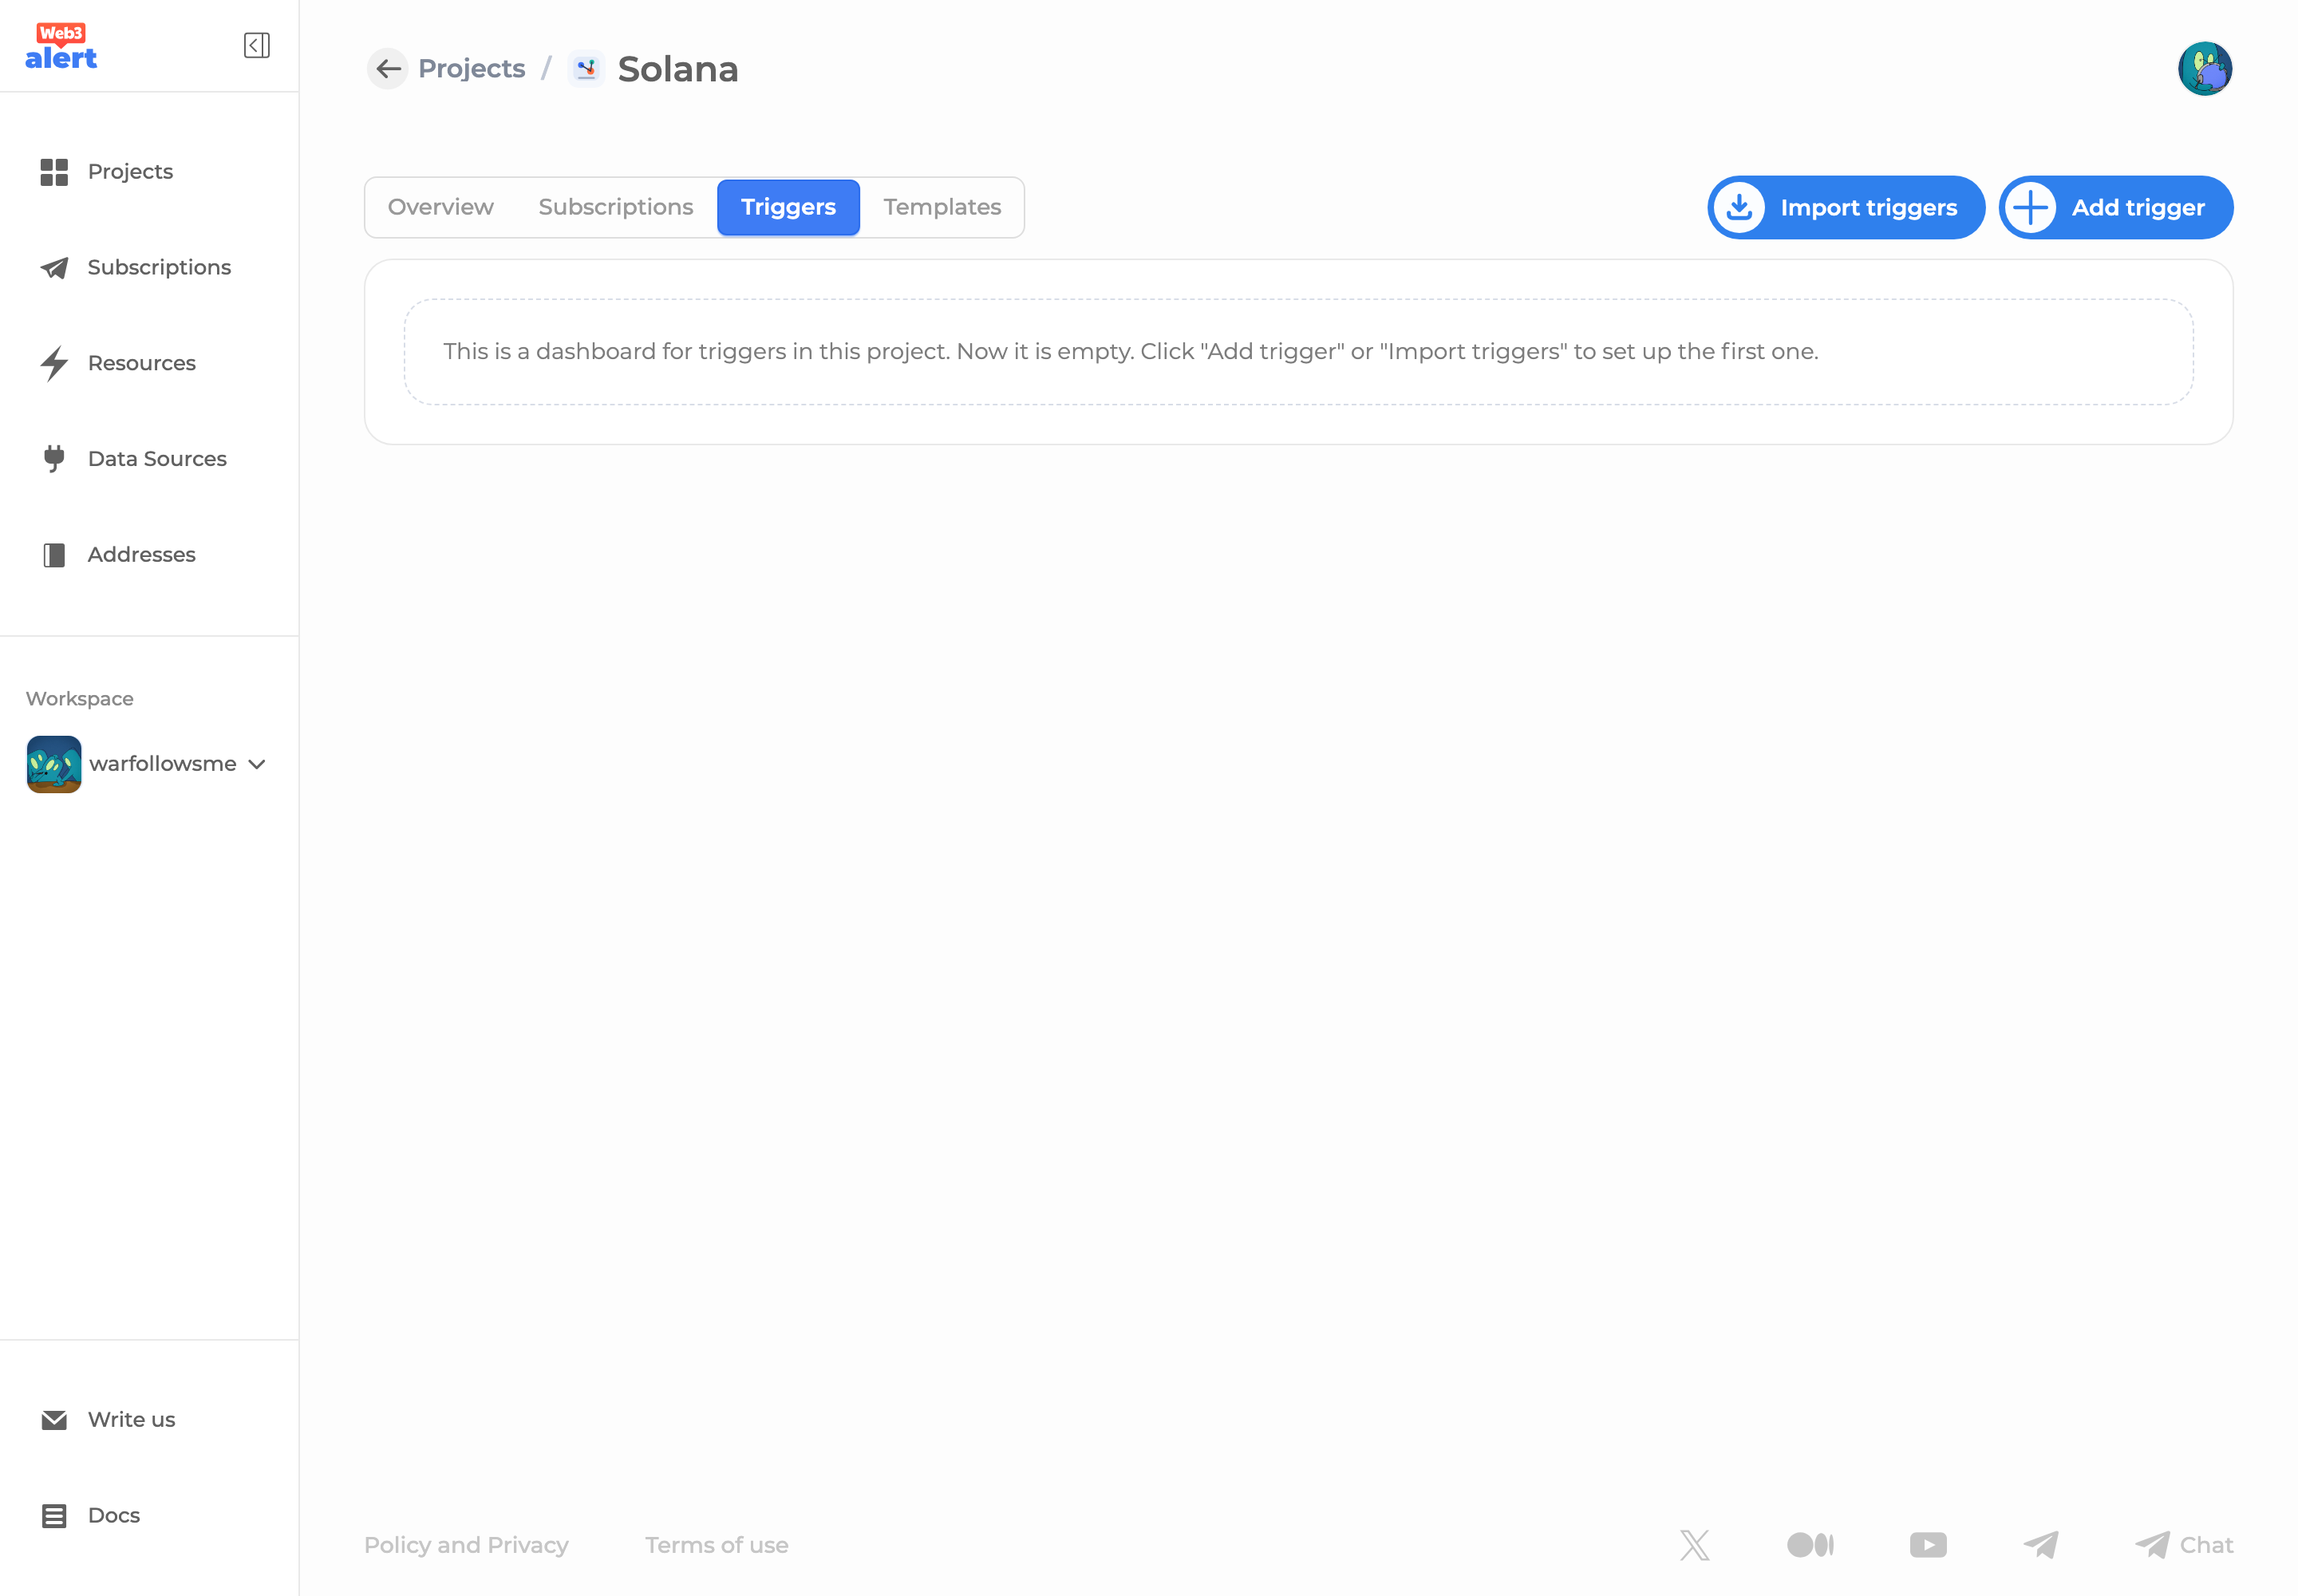
After the project is created, open the project page and go to the Triggers tab.
Click Import triggers.
Import is the fastest way to create several Solana triggers from a program IDL. Use manual trigger creation only when you need one very specific trigger with custom providers, filters, and transforms.
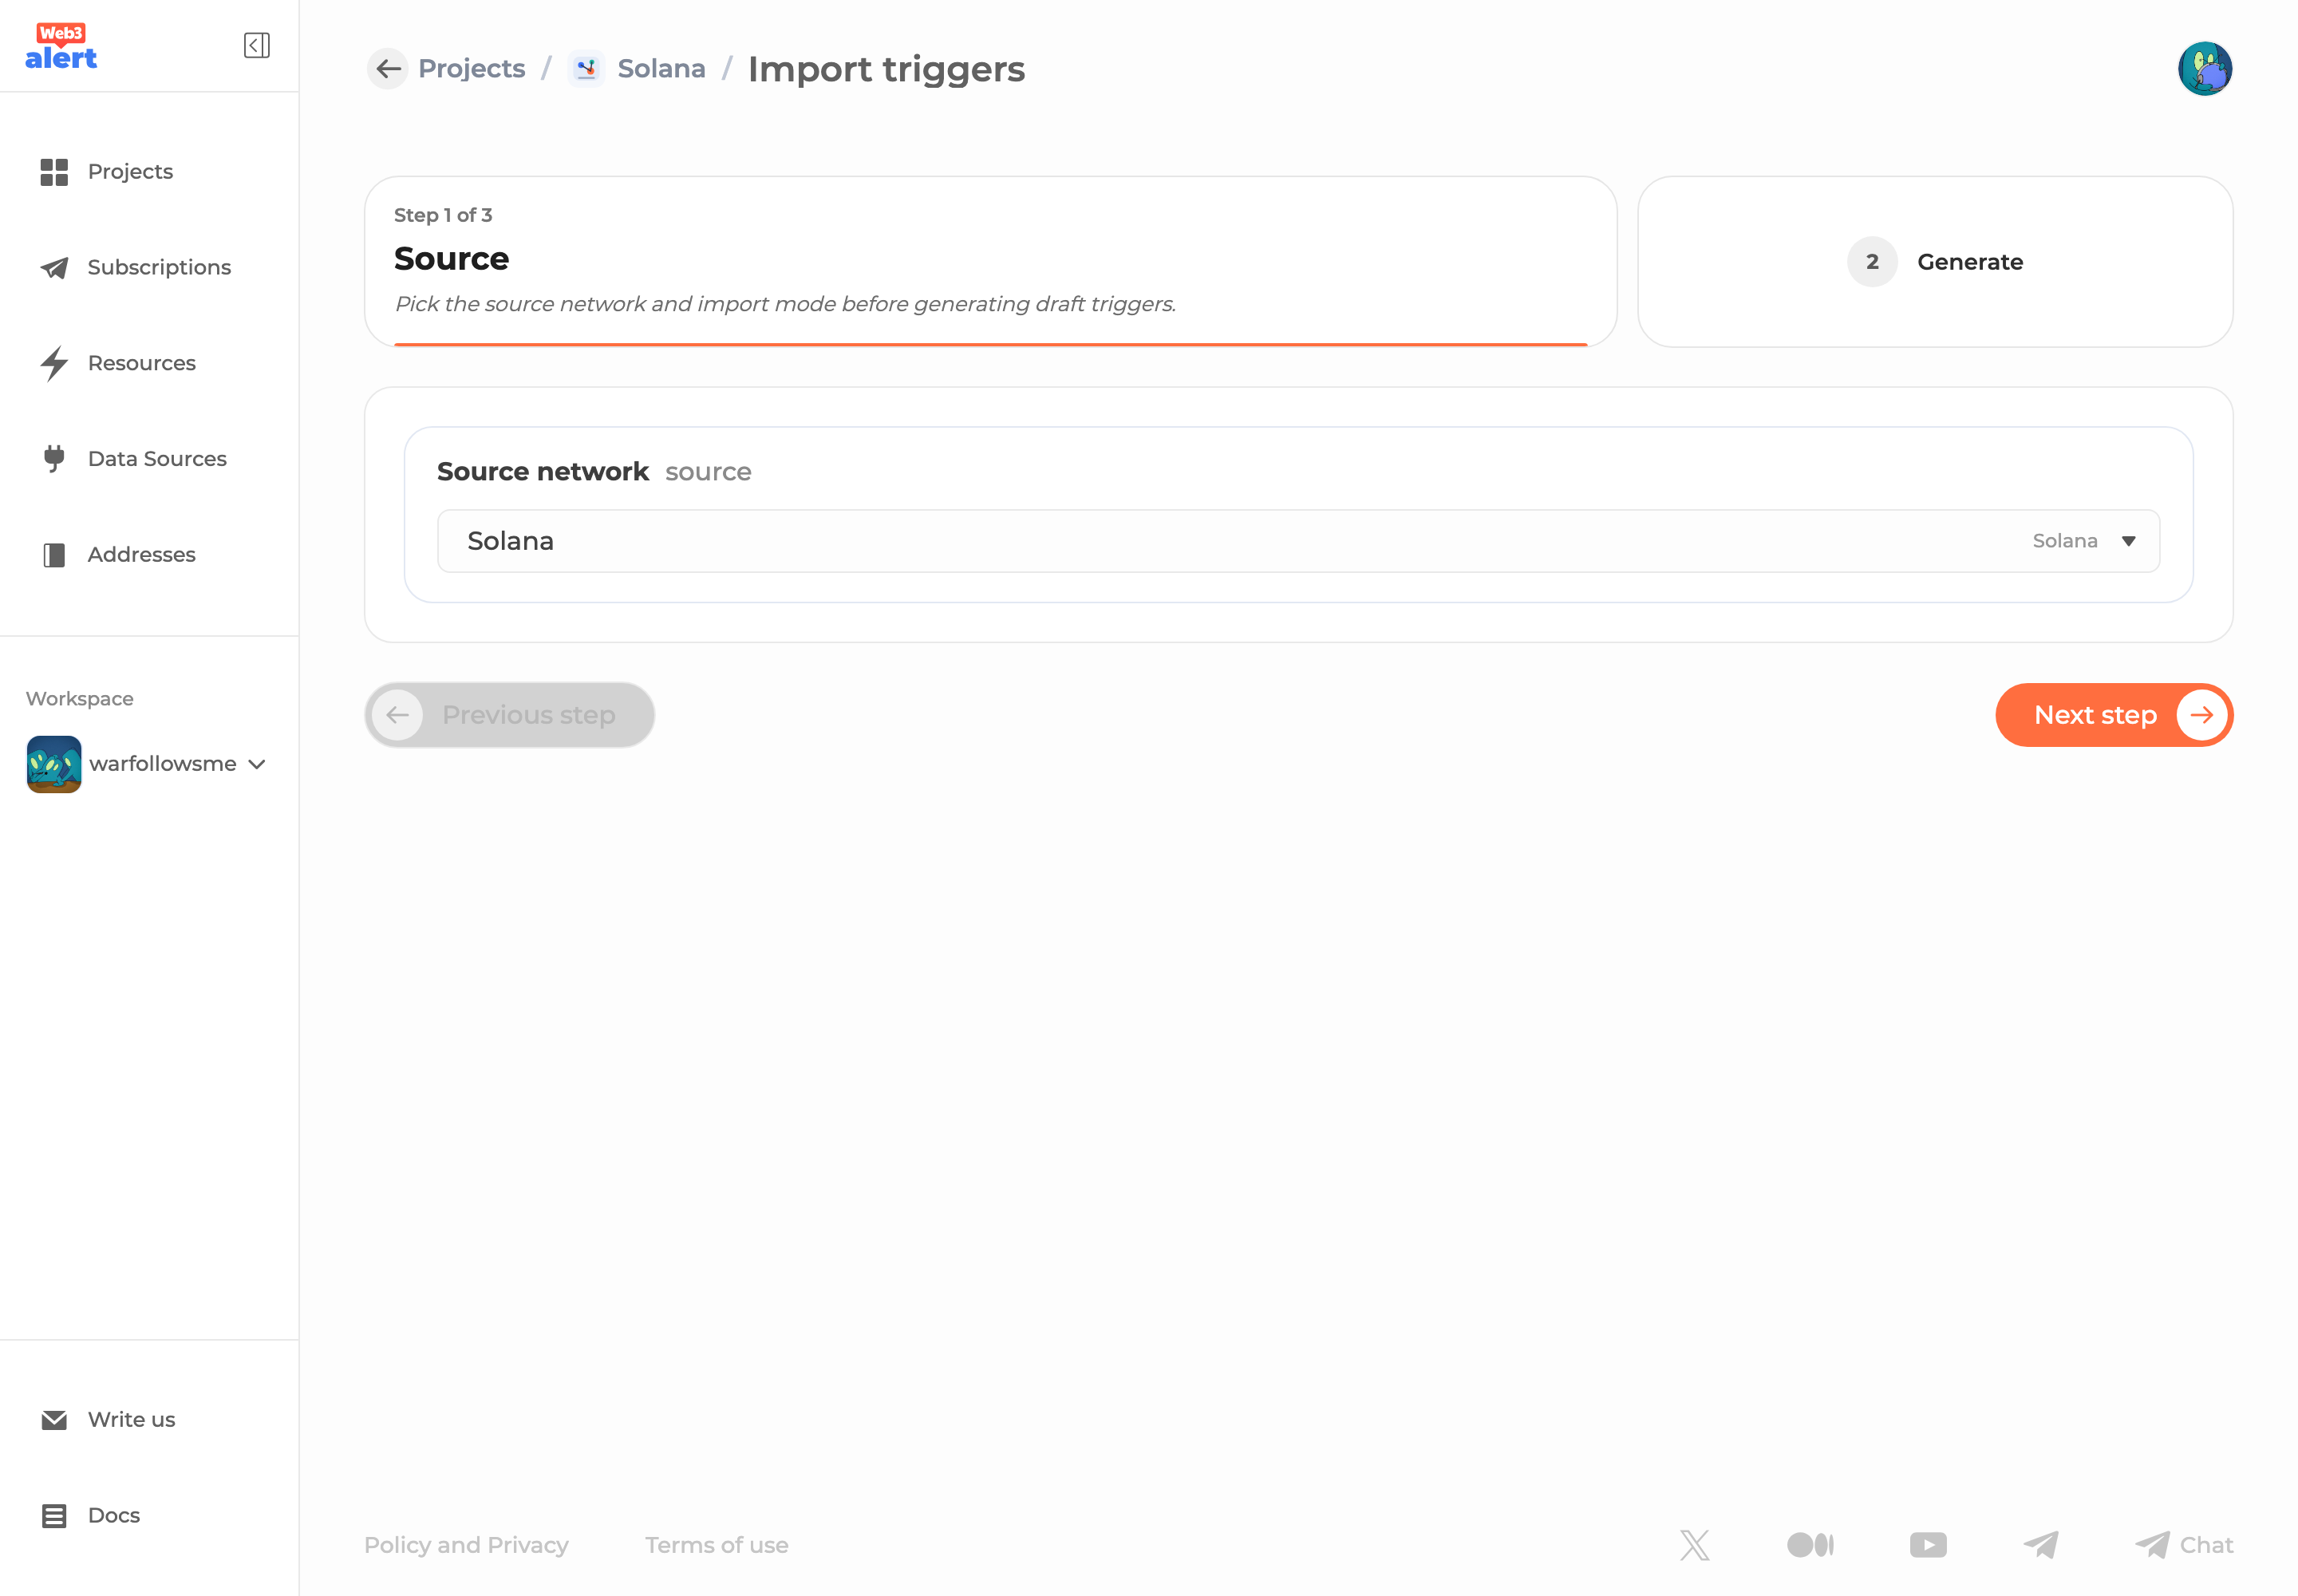
Step 3. Select the Solana Source
In the import wizard, select the existing Solana source.
Click Next step.
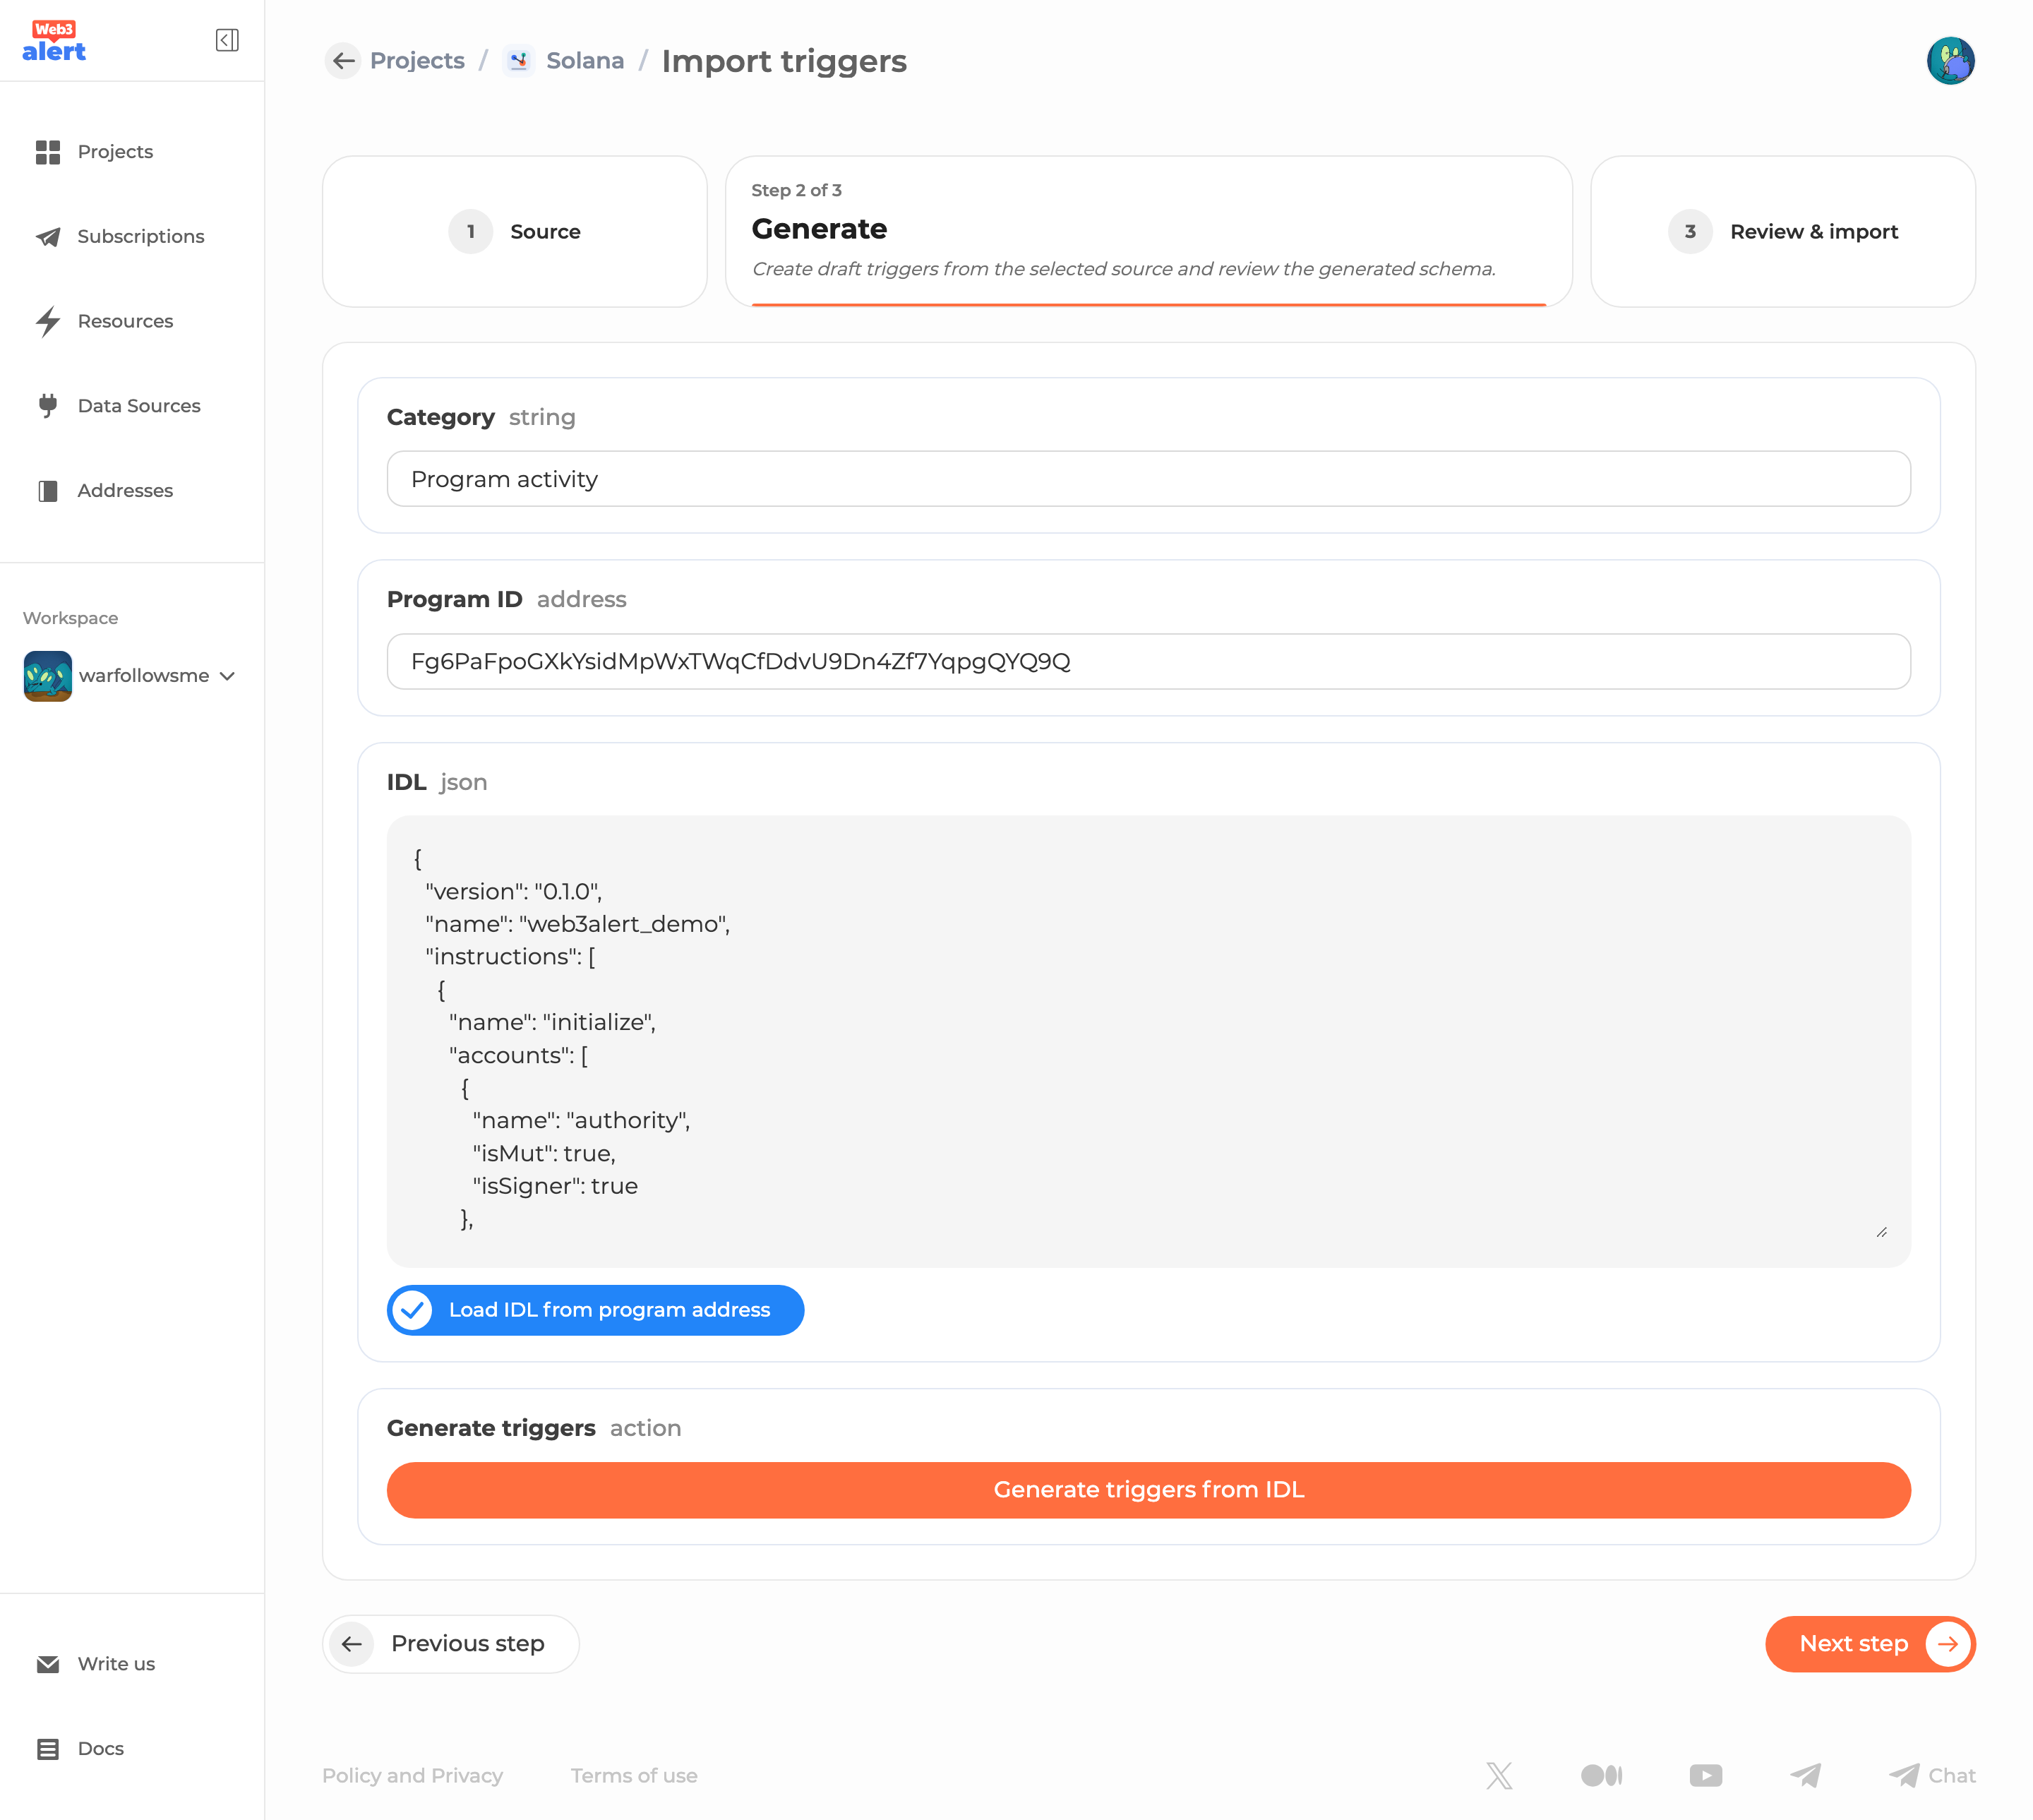
Step 4. Load or Paste the Program IDL
On the Solana generation step, fill:
| Field | Description |
|---|---|
Category | A user-friendly group for the triggers, for example Program activity, Governance, or Transfers. |
Program ID | The public key of the Solana program to monitor. |
IDL | The program IDL JSON. |
Click Load IDL from program address if the program publishes an Anchor IDL account or Program Metadata.
If automatic loading succeeds, Web3alert fills the IDL field for you. If it fails, paste the IDL JSON manually. IDL is required because Web3alert uses it to decode Solana instructions, events, arguments, accounts, and output schema.
Click Generate triggers from IDL.
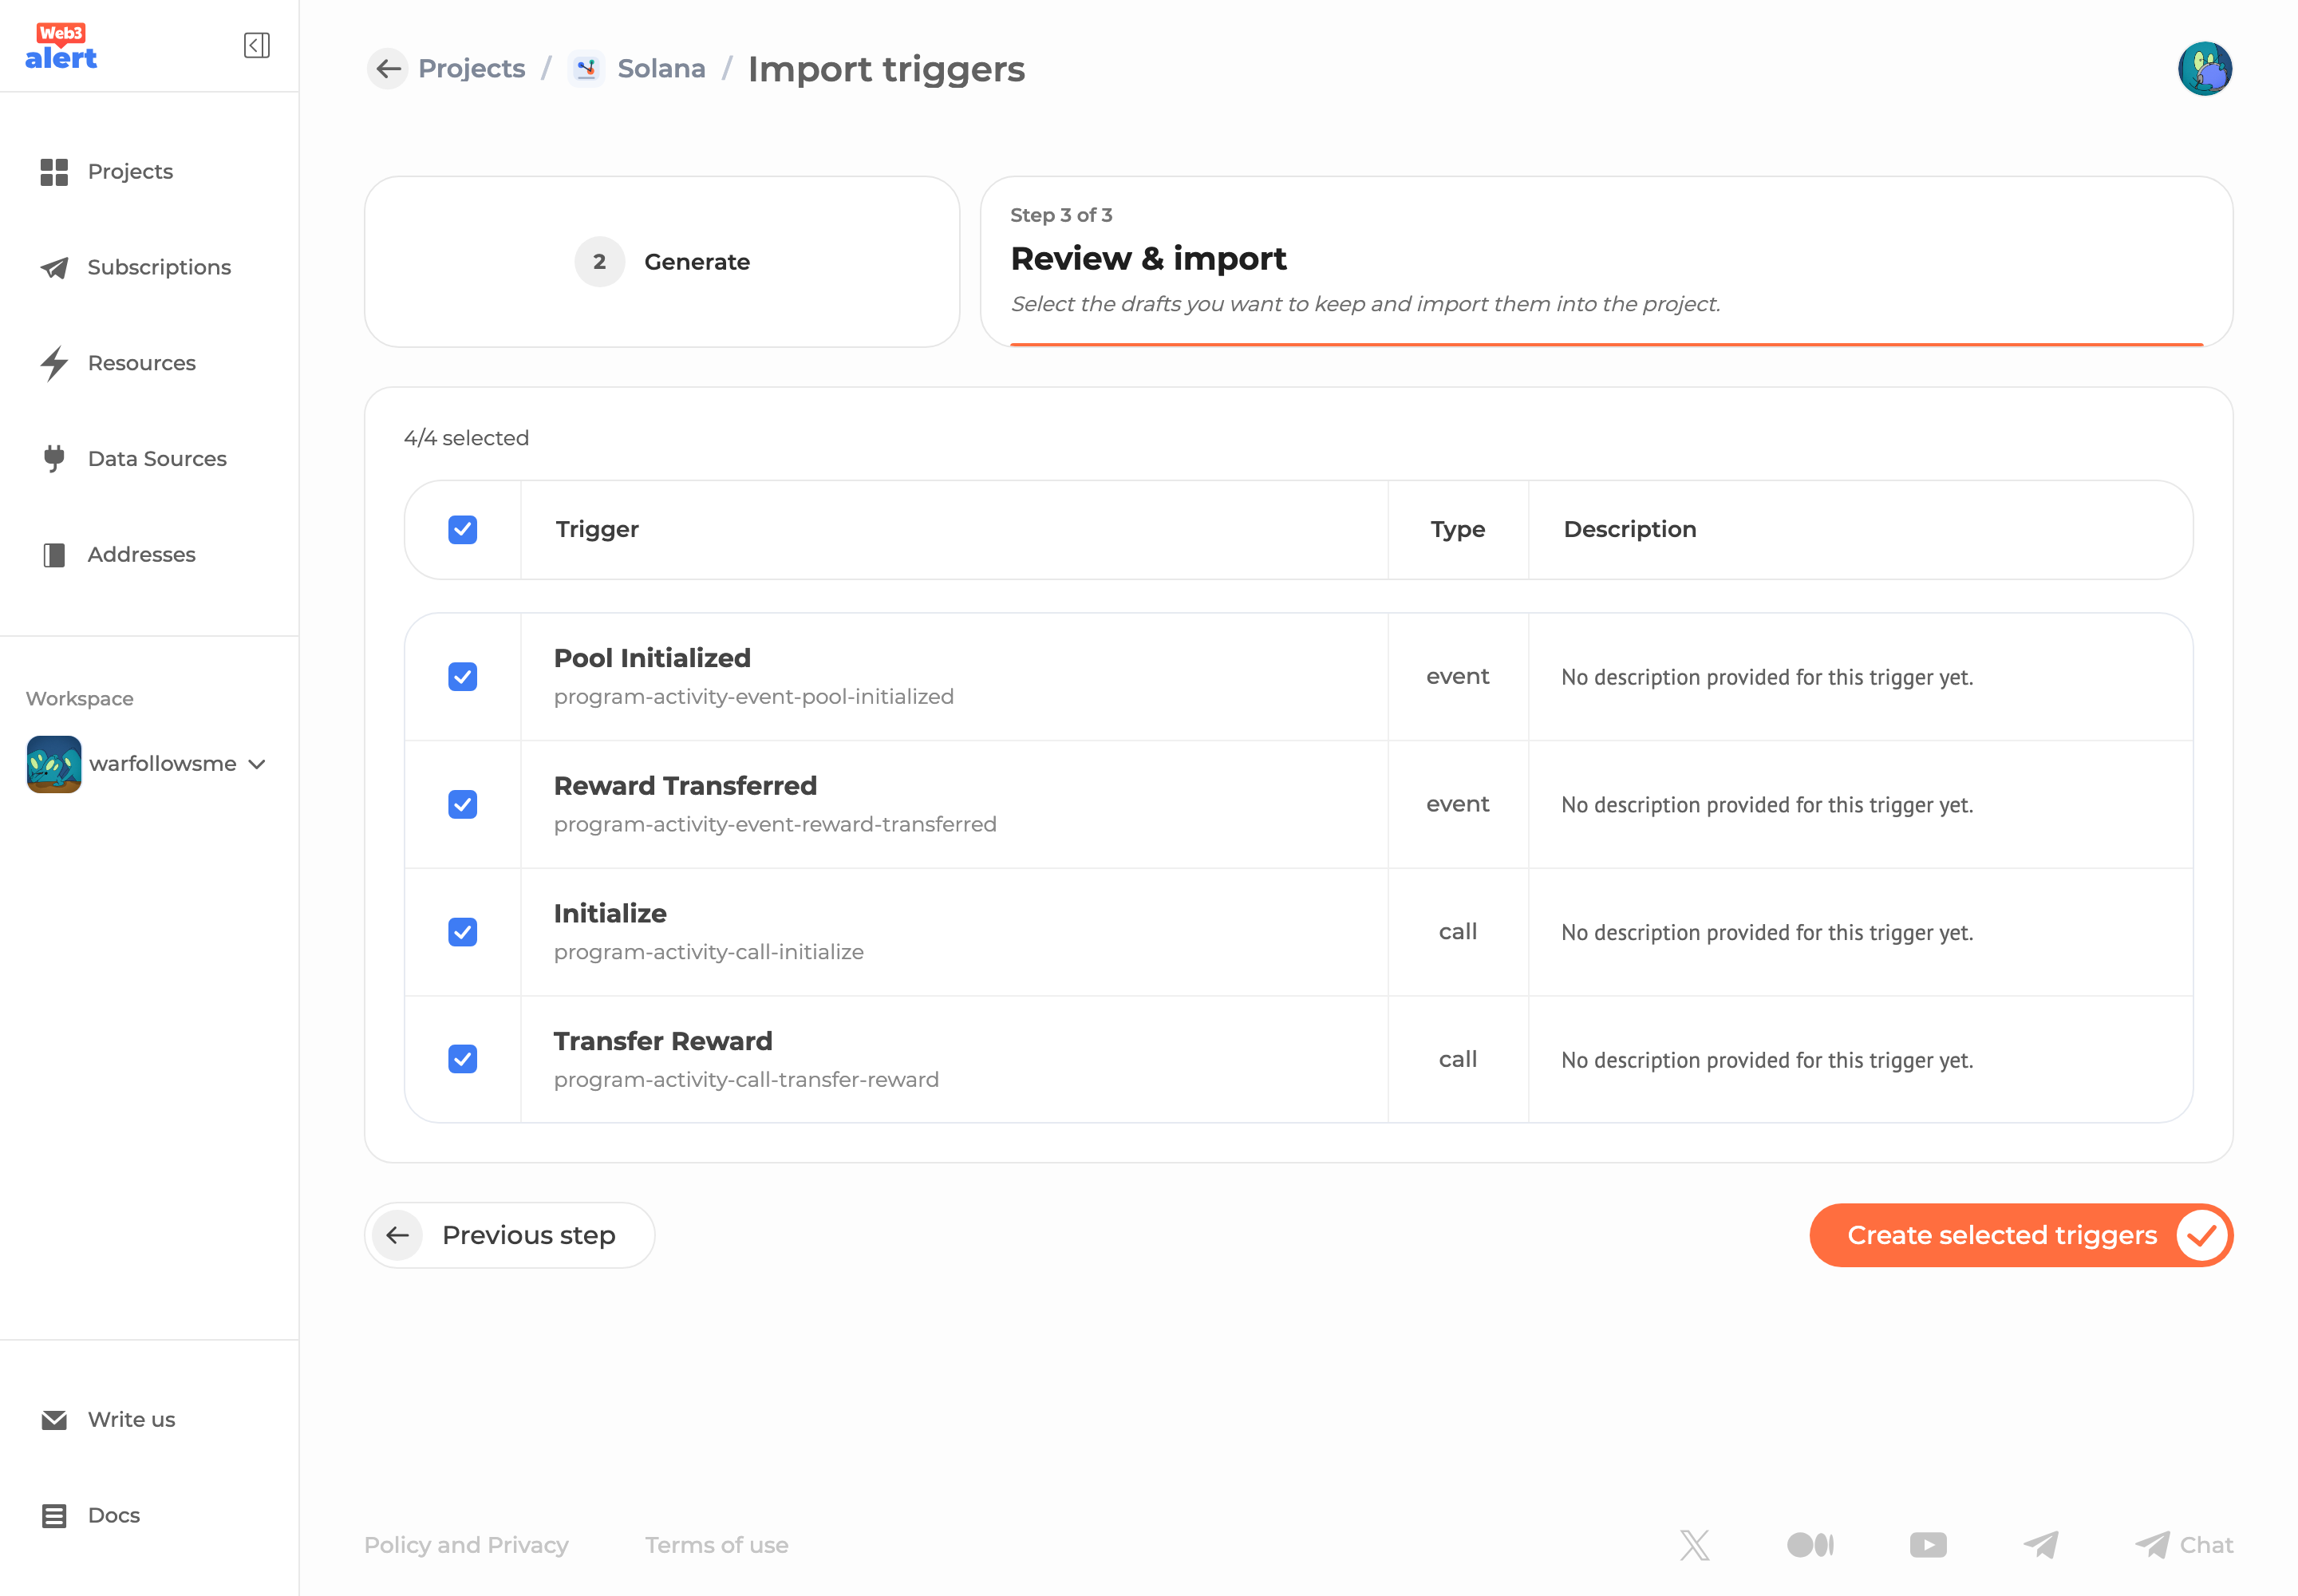
Step 5. Review Generated Triggers
The review step shows trigger drafts generated from the IDL.
Review:
- trigger names;
- event or call type;
- category;
- generated output preview;
- selected checkbox state.
Keep only the triggers you want to publish. It is normal to start with a small subset and add more triggers later.
Click Create selected triggers.
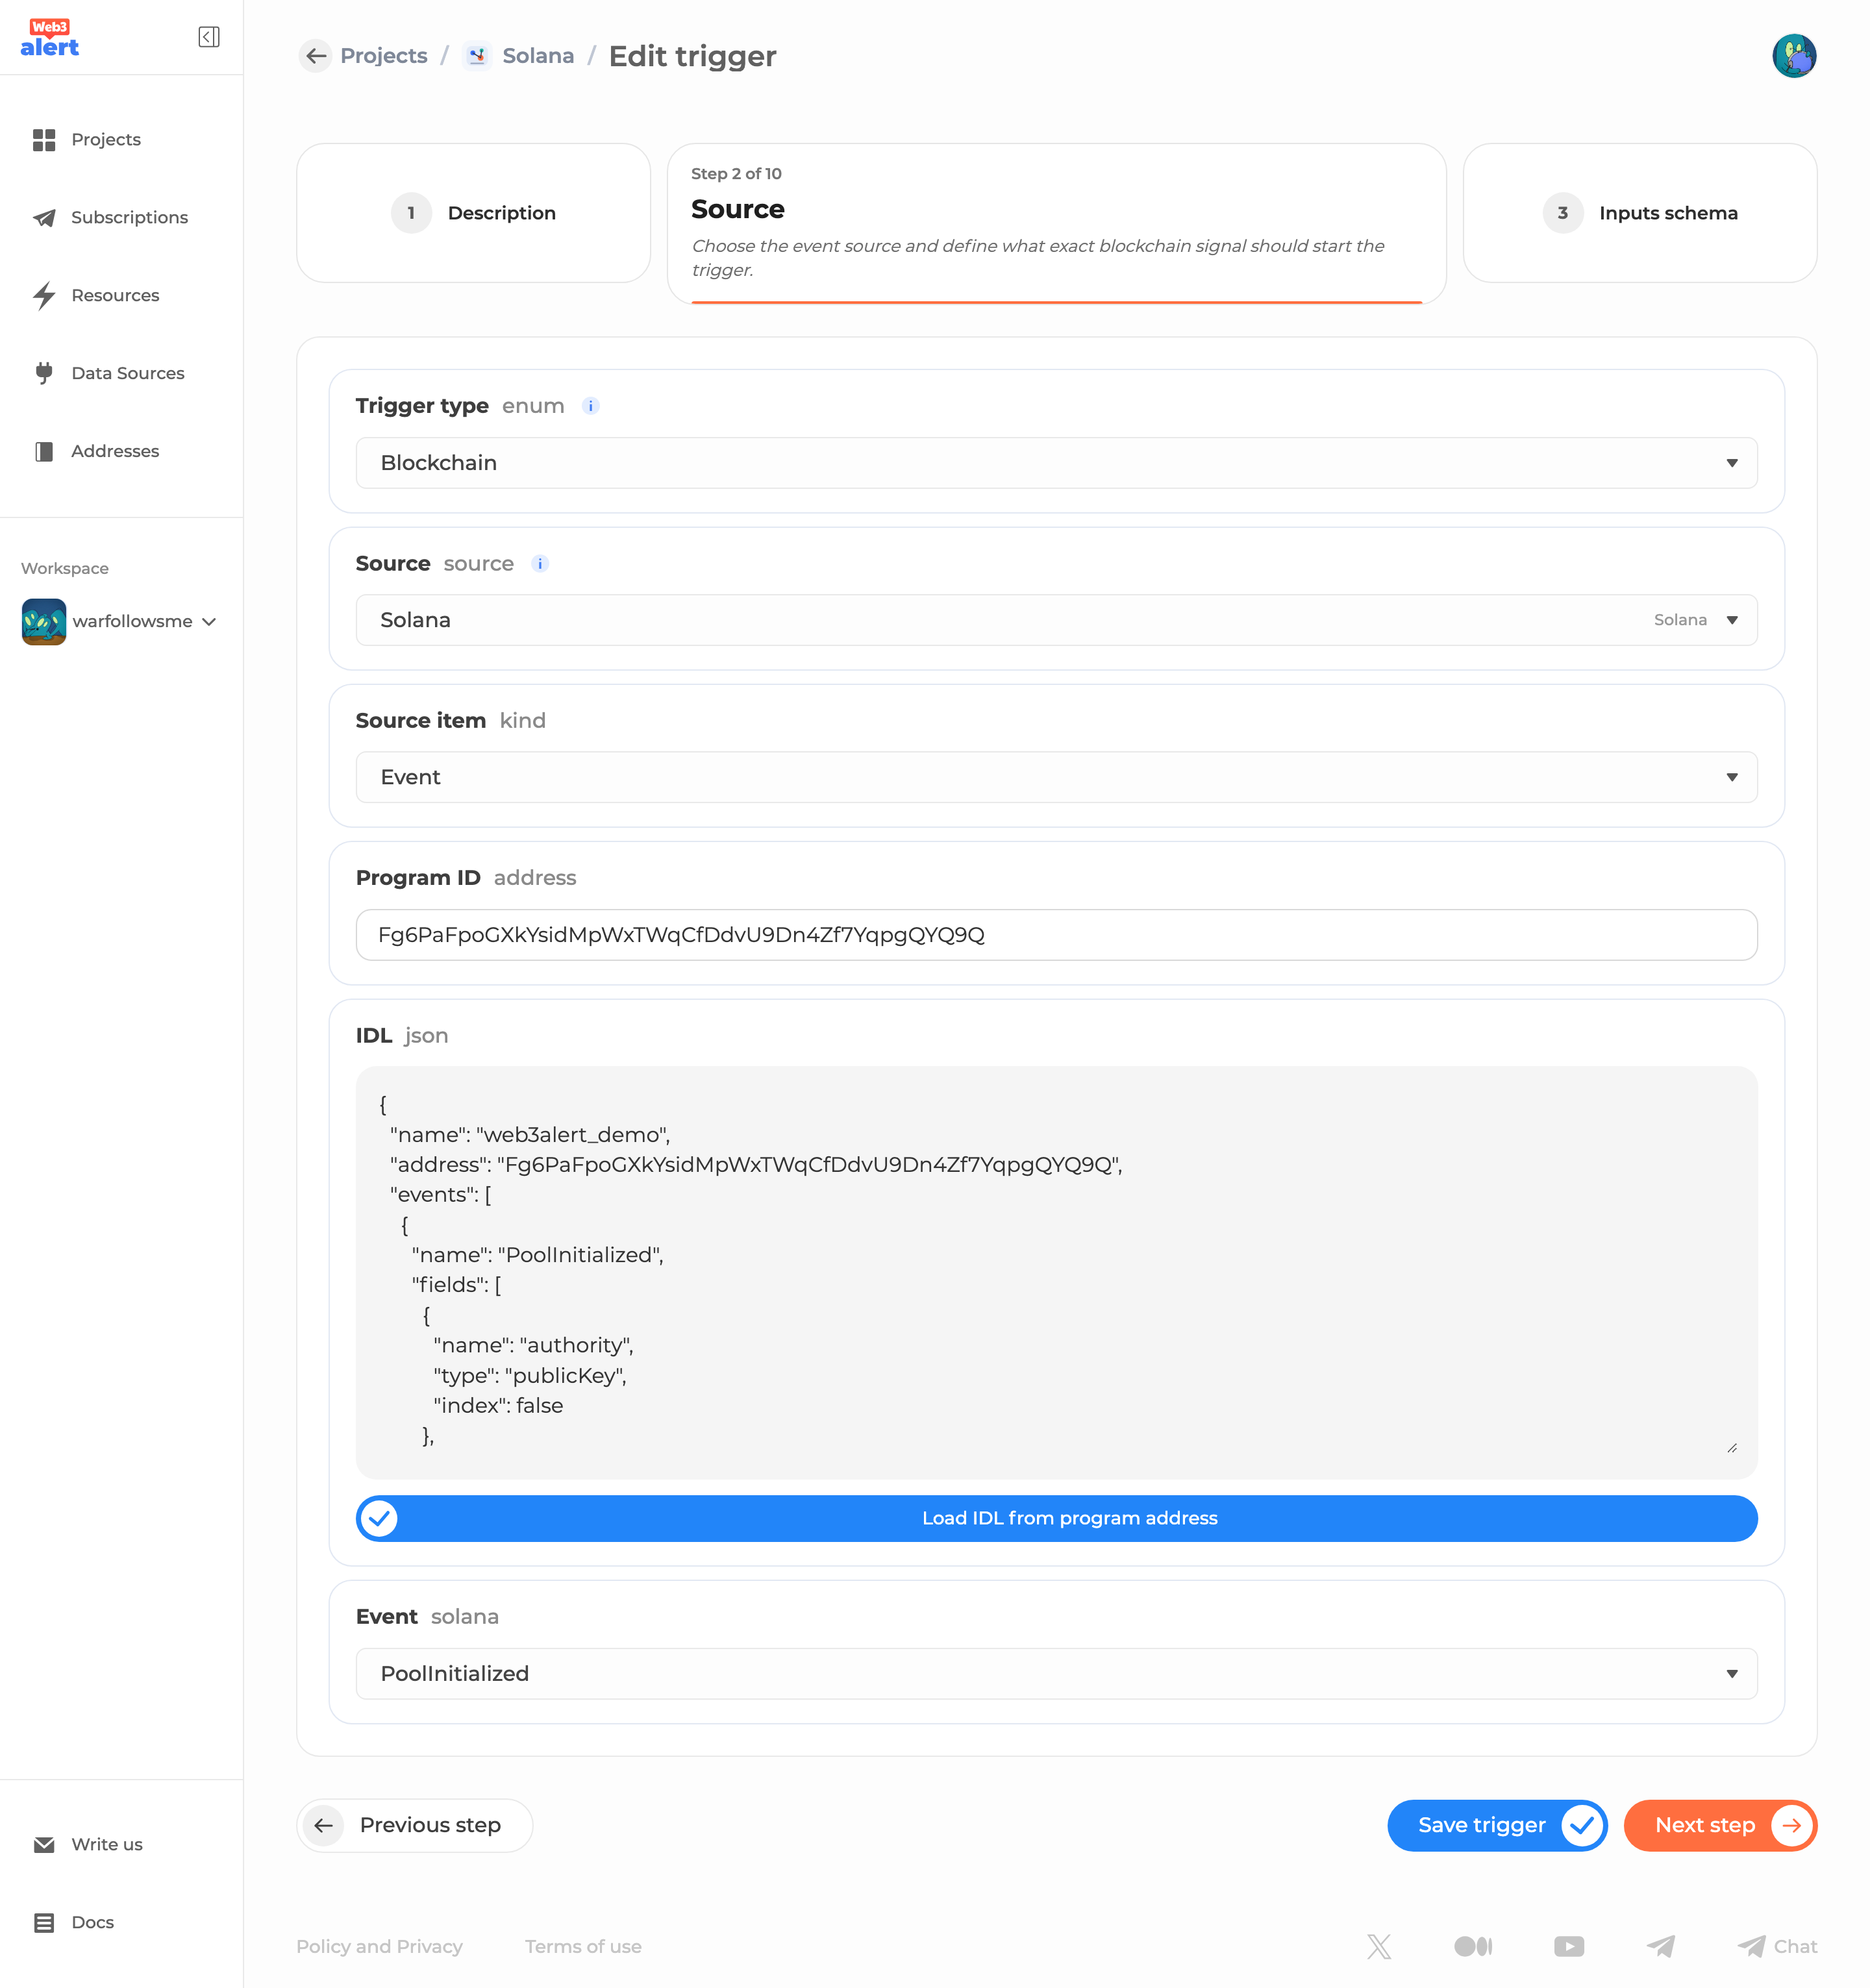
Step 6. Test and Polish Triggers
After import, open each important trigger and review:
- source selection;
- Program ID;
- event or call name;
- output schema;
- filters;
- providers;
- raw and human transforms;
- notification defaults.
For user-facing marketplace projects, spend time on the human output. A generated trigger can be technically correct but still too raw for subscribers. Good notification text should hide unnecessary technical structure and show the values users actually care about.
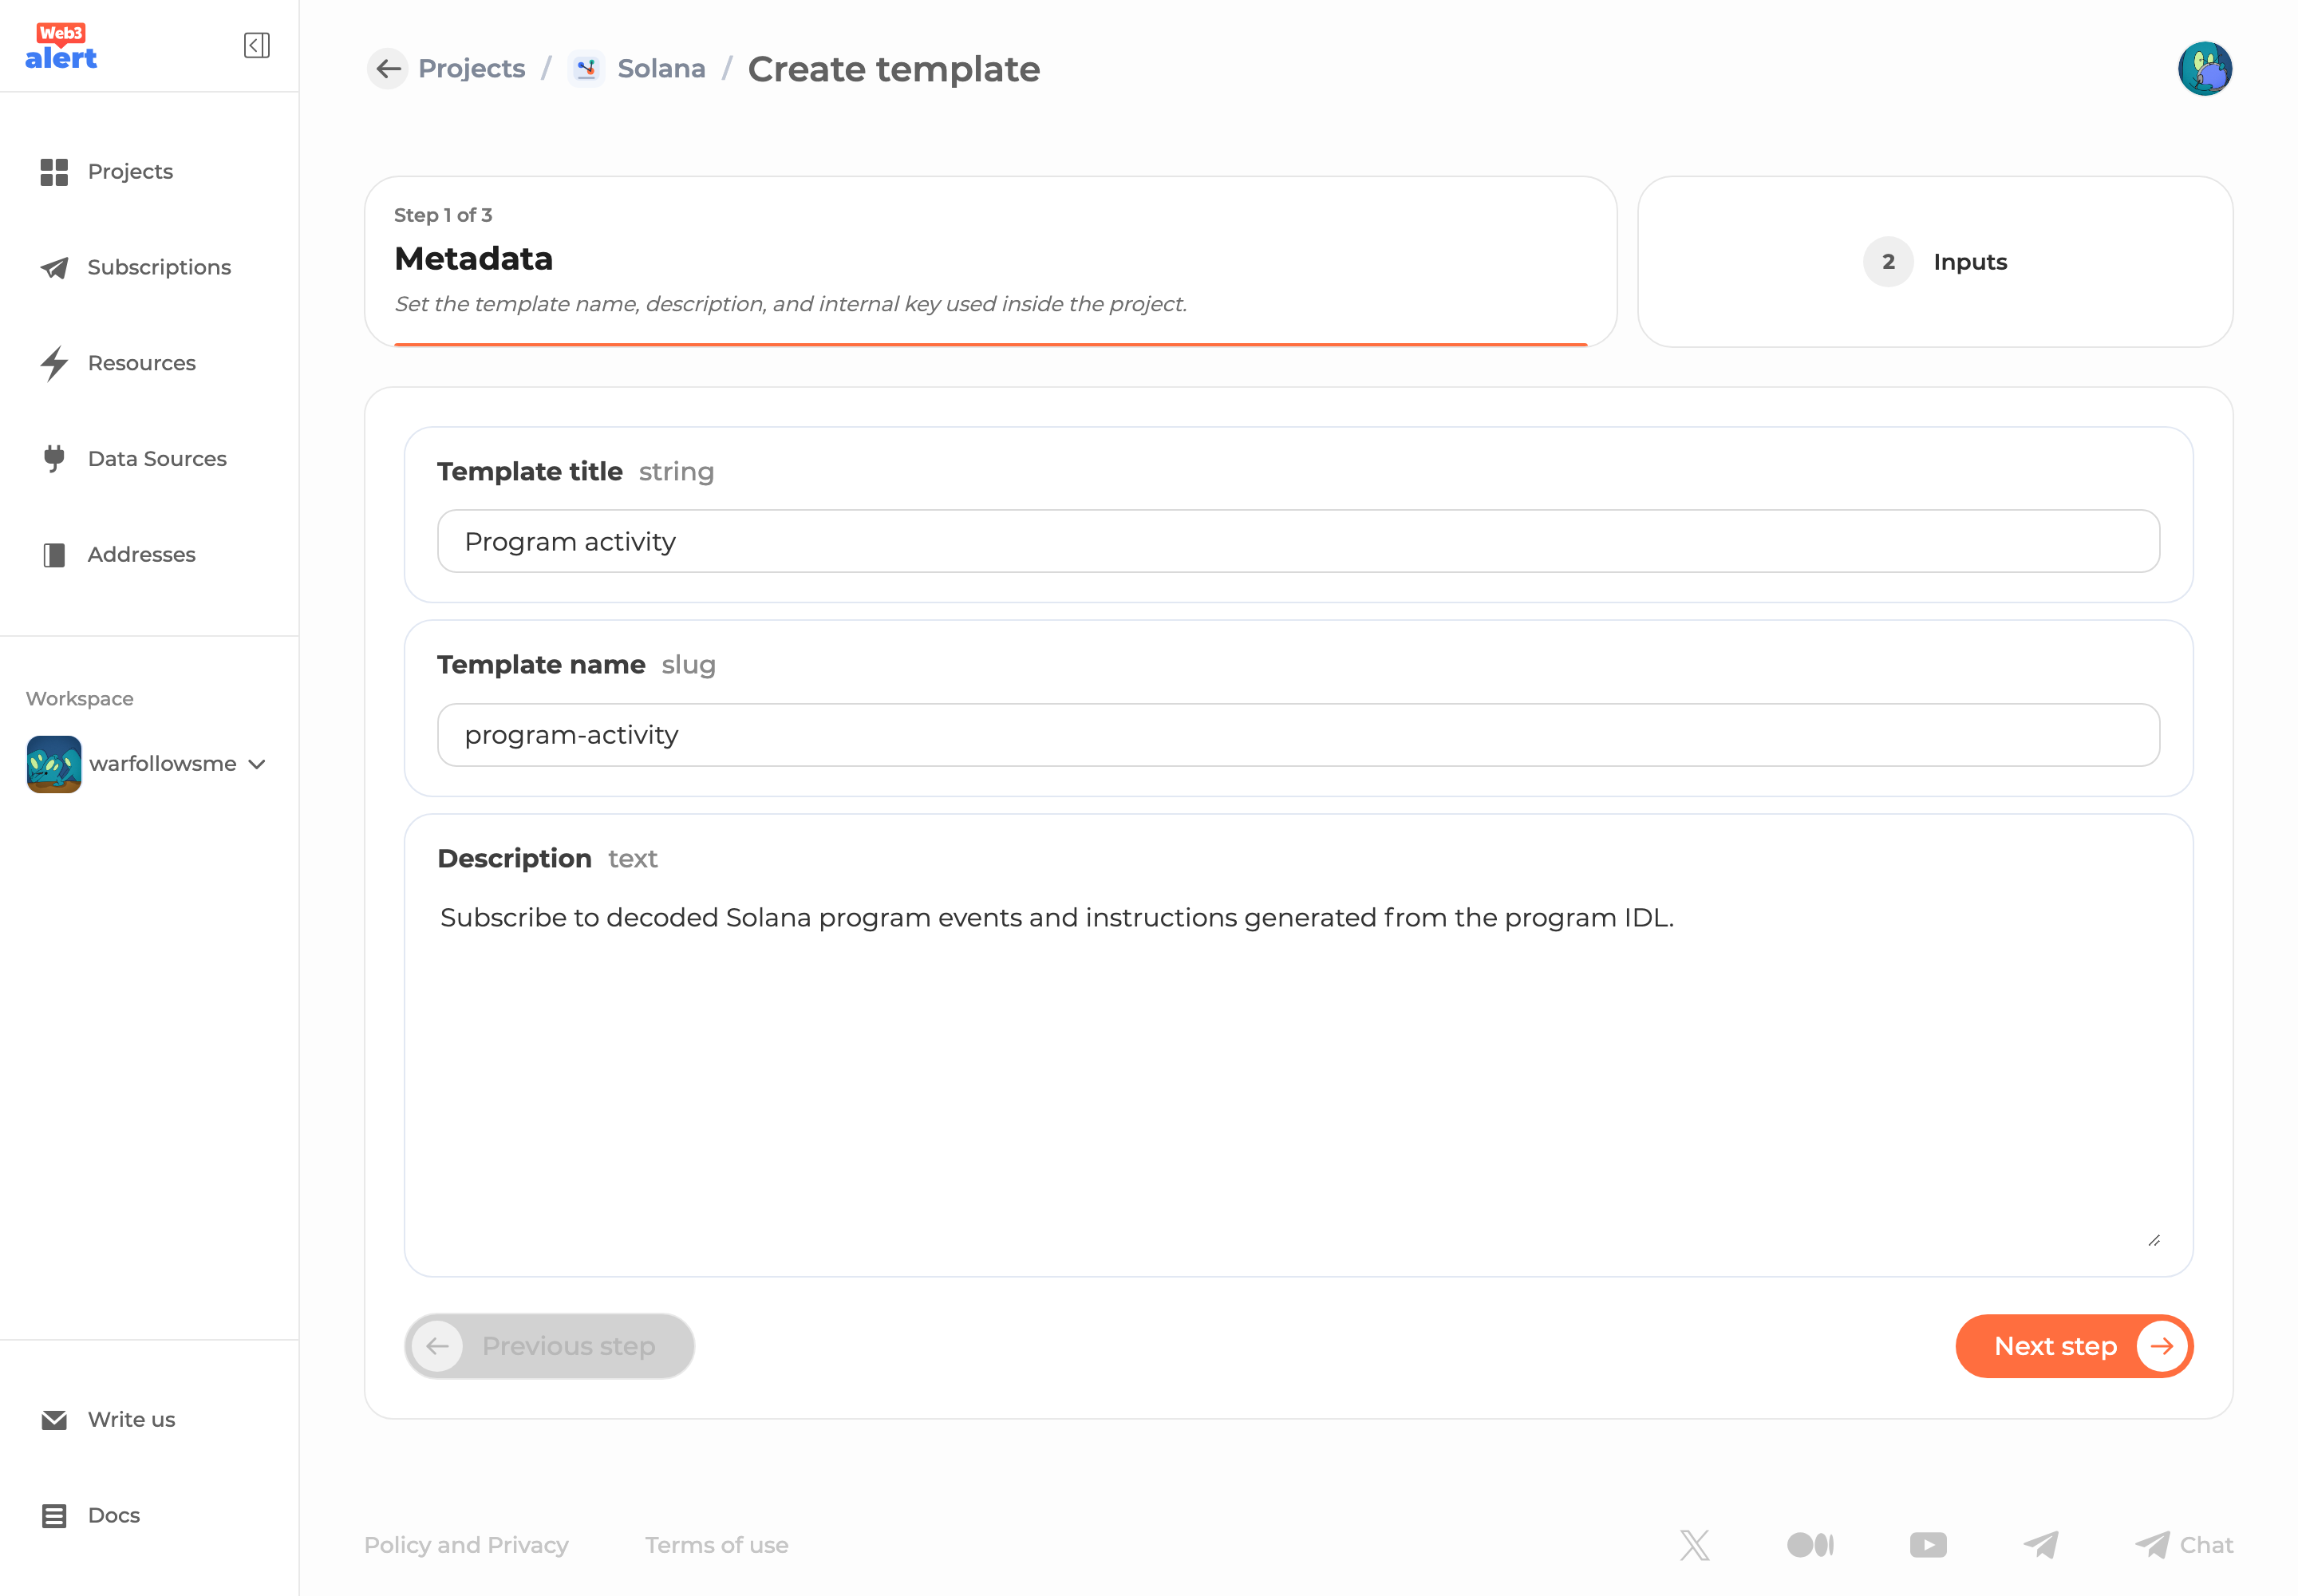
Step 7. Add Templates
Triggers are technical building blocks. Templates turn them into subscription scenarios that users can understand.
Open the Templates tab and create one or more templates for the main alert use cases. For example:
Program activity;Account updates;Governance events;Token activity.
Each template should have clear topics and defaults so users can subscribe without knowing the underlying trigger structure.
Recommended Final Checklist
Before publishing the project:
- the selected Solana source is available and healthy;
- generated triggers are tested with real or representative Solana data;
- raw output is machine-readable and stable;
- human output is concise and understandable;
- templates cover the main user subscription scenarios;
- project metadata has a clear description, tags, and useful links;
- access level is set intentionally.
For a marketplace project, switch the project to Public only after triggers and templates are ready. If the project should be free for all users, use Free access according to the product and billing setup.